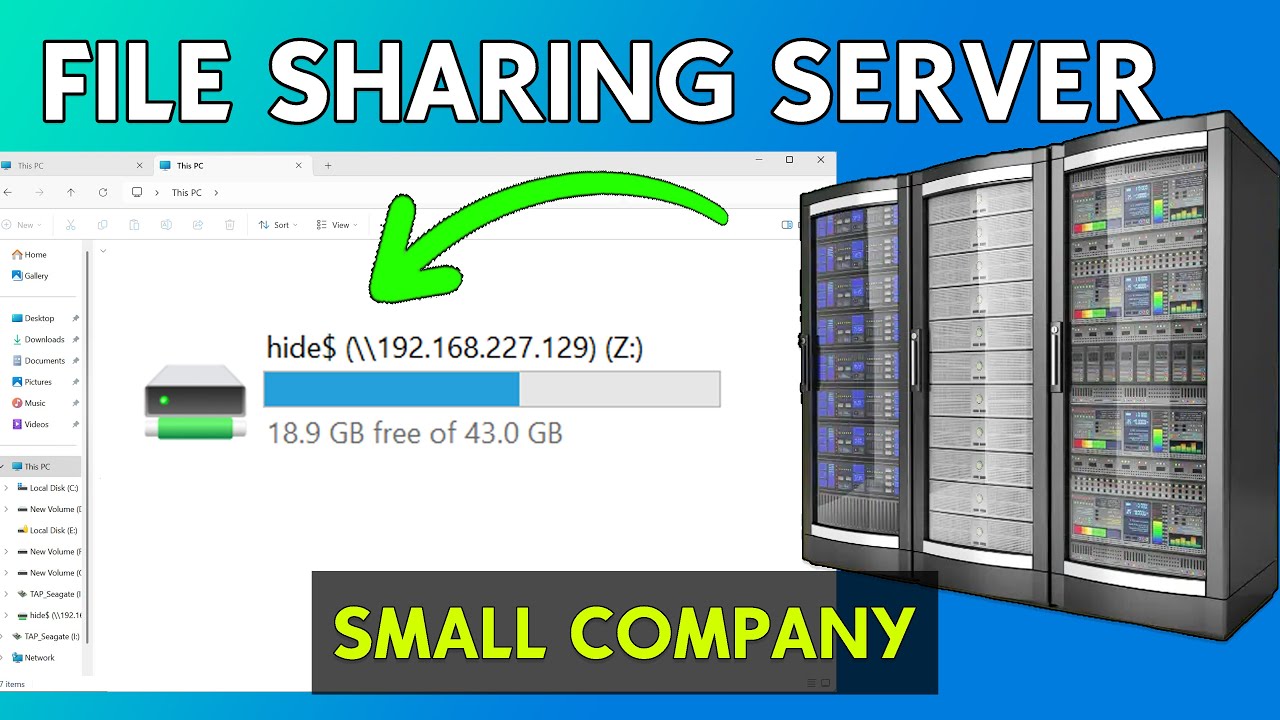
Setting up a file-sharing server on your network can help improve collaboration and data accessibility in a small company. In this guide, we will walk you through the process of creating a Windows 11-based file-sharing server, setting up user permissions, and enabling hidden file sharing.
Let’s get started! 🚀
🛠️ Step 1: Create a Shared Folder
- Open File Explorer (
Win + E). - Navigate to the C: drive.
- Right-click inside the drive and select New > Folder.
- Name the folder (e.g.,
Technology_Share). - Press Enter to create the folder.
👥 Step 2: Create User Accounts
We will create four users and assign them to two groups:
✅ Group_S (Special Permission: Read, Write, Modify)
✅ Group_N (Normal Permission: Read-Only)
- Right-click on the Start Menu and select Computer Management.
- Expand Local Users and Groups.
- Click on Users.
- Right-click and choose New User.
- Fill in:
- Username:
User1 - Password:
123 - Check:
- ✅ “User cannot change password”
- ✅ “Password never expires”
- Click Create.
- Username:
- Repeat steps for User2, User3, and User4.
👨💻 Step 3: Create User Groups
Now, let’s create the groups and assign users.
- In Computer Management, click on Groups.
- Right-click and select New Group.
- Name the first group
Group_S(for special permissions). - Click Add, type User1, then Check Names.
- Repeat for User2.
- Click OK and then Create.
- Repeat the process for
Group_N(normal permission) and add User3 & User4.
📂 Step 4: Configure Folder Sharing
- Right-click on
Technology_Shareand select Properties. - Navigate to the Sharing tab.
- Click Advanced Sharing.
- Check “Share this folder”.
- Click Permissions:
- Remove Everyone.
- Click Add, type Group_S, and Check Names.
- Grant Full Control.
- Click Add, type Group_N, and Check Names.
- Grant Read-only access.
- Click OK > Apply > OK.
🔐 Step 5: Set Security Permissions
- Go to the Security tab in the folder’s Properties.
- Click Edit > Add.
- Type Group_S, then Check Names.
- Assign Full Control and click Apply.
- Repeat for Group_N but only allow Read permission.
- Click OK > Apply > OK.
📡 Step 6: Enable Network Sharing
- Right-click the Start Menu and go to Settings.
- Navigate to Network & Internet.
- Click Advanced Network Settings.
- Select Advanced Sharing Settings.
- Enable:
- ✅ Network Discovery
- ✅ File & Printer Sharing
- ✅ Automatic Setup of Network Devices
- Close the window.
🌐 Step 7: Access the Shared Folder from Another Computer
Method 1: Use Network Drive
- Open File Explorer on another computer.
- Click This PC > Map Network Drive.
- Choose a drive letter (e.g.,
Z:). - Enter
\\[SERVER_IP]\Technology_Share(replace[SERVER_IP]with your actual server’s IP address). - Click Browse and select the folder.
- When prompted, enter:
- Username:
User1orUser3 - Password:
123
- Username:
- Click Finish.
📌 Test User Permissions:
- User1 & User2 (Group_S): ✅ Can read, write, modify, and delete files.
- User3 & User4 (Group_N): ❌ Cannot delete or modify files, only read.
🕵️♂️ Step 8: Share a Hidden Folder
If you need to share a hidden folder, follow these steps:
- Create a new folder (e.g.,
HiddenFolder). - Right-click > Properties > Sharing tab.
- Click Advanced Sharing > Share this folder.
- Append a
$sign to the share name (e.g.,HiddenFolder$). - Click Permissions and set user access (e.g., only
User1). - Click Apply > OK.
To access the hidden folder from another computer:
- Open File Explorer.
- In the address bar, type:
\\[SERVER_IP]\HiddenFolder$ - Enter the credentials (e.g.,
User1,123). - You can now access the folder!
🎯 Final Thoughts
Congratulations! 🎉 You’ve successfully set up a Windows 11 file-sharing server for your small business. Now, your team can securely share files while maintaining controlled access.
🔗 Key Takeaways:
✅ Create users and groups with appropriate permissions.
✅ Enable network discovery and file sharing.
✅ Use mapped network drives for easy access.
✅ Protect sensitive data with hidden folder sharing.
If you found this guide helpful, subscribe for more tech tutorials! 🚀


